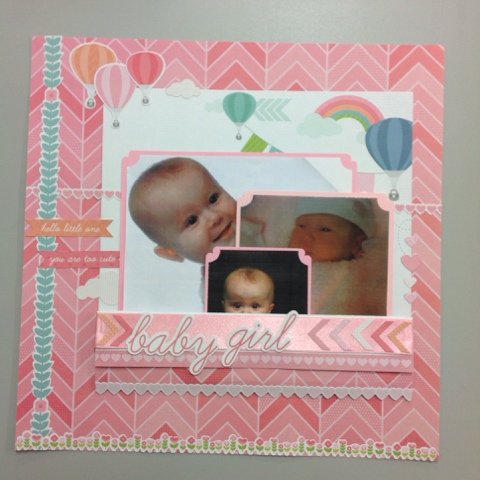
So for today's design team project I've got to work with the little one collection!
And I must admit kids pages are not one that I have much experience with doing... So with trepidation I set sail in to this challenge hoping for a good result... (We've all been there haven't we lol)
So for today's collection I had this wonderful selection -
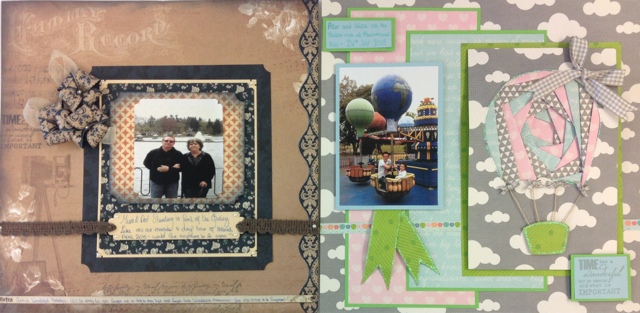
Firstly I decided I would tackle one of my favourite Cardmaking techniques - iris folding... I love this effect but had yet to use it in scrapbooking (one of those ureeka moments you're not sure why you hadn't had it years ago!) so off I set... Google in hand to find a free air balloon pattern - hey presto...
Being terrible with technology I did the only thing I know how, and uploaded it in publisher and enlarged it before printing it :)
If you've never done iris folding this picture probably is making you scratch your head about now.. Trying to make this easy.. You cut strips of paper, fold them in half lengh ways and work around the pattern, starting from number one working upwards.. Until you've completed the shape.. Now for the fun part I haven't mentioned.. Firstly you need to cut this balloon out (just the balloon) and use it as a stencil on the piece of paper you wish to have the balloon on.. In my case a piece of the grey & white cloud paper (Jack). once drawn around, cut out the shape to create an appature. then place this paper face down over the pattern and secure with a little piece of masking tape, so you can now see the picture above through the hole in your paper... Now take the strips you've cut and folded in half and work around the numbers sticking the paper at the top and the bottom with cello tape.
I didn't find the attached pattern order for the colour strips gave the effect I was after . so I completely
freestyled the papers I used in my preferred order.
My papers for this design were cut to 3cm wide - depending on how big or small you print the balloon off will determine how wide the strips you'll need :)
For my folded papers I used - pink hearts (Zoe) - blue words (Noah) and the back of this paper for the grey and white blocks.
I've then used the remainder of the pink heart sheet and the blue words sheet and layered them on green card, for the balloon iris folding I've mounted this with foam tape on to the other side of the great cloud paper (Jack)
I've also used a little off cut of the Jack paper for my basket, and the tabs coming out from under my knot, the photo is just layered on matching card, which I've also used for my stamped sentiment and journalling (then matted in the matching green card)
To finish off this page I have added the worlds smallest handmade bows (ok maybe not.. But they felt like it when I was trying to make them! Lol) to the joins of my cord to the ballon and used the same design ribbon for a large bow on the top of the balloon.
The only piece I've forgot to mention is the strip of hot air balloons, this is the base strip off of the Jack page!
For a little added sparkle (and to hide my wonky cutting line!)
I've gone around the balloon, basket and tabs with iridescent glitter glue
I hope this all makes sense, any questions, please don't hesitate to ask away in the comments :)
If you would like to come and do this as a lesson, we will be doing these 2 pages
At Craftmania lowestoft on
Saturday 19th September 2:00-4:30 &
Wednesday 23rd September 10:00-12:30
This lesson costs £8 and everything you need to make both pages is supplied for you, all you need to bring is yourself and some pictures :)
To book please give us a call on - 01502 218281 - (mon-sat 9-5)
Alternatively all of these papers will be available from Craftmania, or if you wish to stock these products in your store, please get in contact with Jones Crafts - wholesaler of many fantastic brands including Kaisercraft, Bobunny, Marion smith, pioneer, candy box crafts, impression obsession and just announced - fabscraps!


