Saturday 28 November 2015

NEW LESSON JUST ANNOUNCED!!


NEW LOWESTOFT LESSON! 

***Very limited spaces***


Taking place on Saturday 19th December 2:00 onwards - estimated 2-1/2 hours for completion 


Only £20 everything you need is supplied for you! (Including the candle!) 


What an ideal gift for Christmas for loved one! 

Or just a decoration for the home :) 


You can choose to do it exactly the same as mine, or you can pop in anytime up until 72 hours before the lesson and choose your own papers and colours, this will allow us time to have all the required elements die cut for you in advance :) 


Wanna get in first? 

***BOOKINGS BEING TAKEN UNTIL 8pm THIS EVENING!***

Call 01502 218281 

(Then booking will be taken during store hours)


Once again we will highlight we only have a limited amount of spaces :) 


(This is should for decoration purposes, you can not burn the candle in the lantern, but at a later date could get an electric candle instead :) ) 


Wednesday 25 November 2015

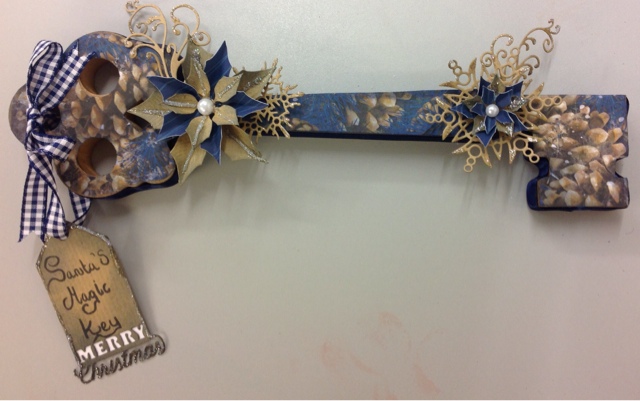
Santa's Magic Key


So for today's design team project I'm once again working with the wonderful Bo Bunny Sleigh Ride collection... 
So let's get one with the instructions...
First of all, I got myself one of these stunning Kaisercraft wooden keys, only £2.29 @ Craftmania! 
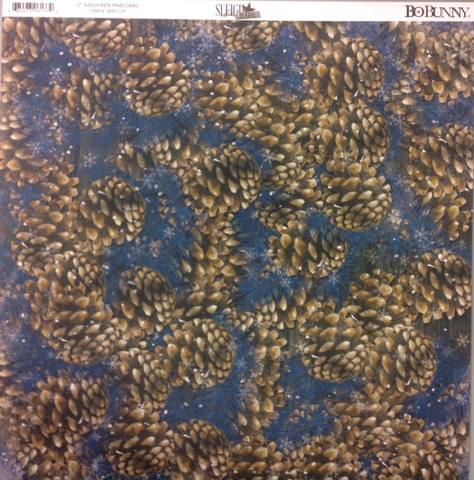
And used it to draw around on the reverse of my Bo Bunny Sleigh Ride sheet - 
Once drawn around, I simply cut 2 out (1 for each side) 
And then glued them on... 
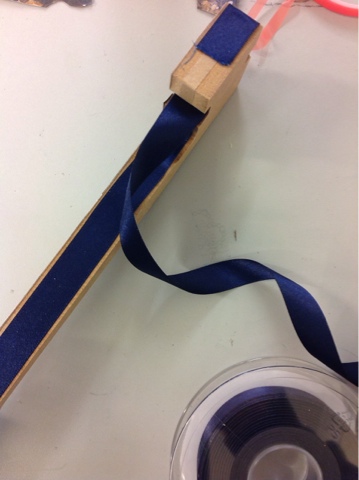
Now the width of the key... I didn't want to paint the base of the key, and felt the wooden essence of the key would be a shame to cover completely, but didn't want as much as if I just left it.. So ribbon was the answer, a quick and easy way to get in to all the nooks and crannys of the key without hours of faffing, so I just wrapped double sided tape around the key, and then placed ribbon on top... 
Now at this stage I decided the edges of my paper looked a little too freshly cut, and the white was bugging me, so decided to do what I should have done before sticking them on... Distress the edges! 
Chipped sapphire seemed the best idea! 
Now the base of the project was complete it seemed time to add on some of our FANTATSIC dies we get from Craftmania -(thanks to Jones Crafts!) 

The dies are all currently available from Crafttmania 
Large pointsettia - £23.49
Small pointsettia - £10.99
Trio of tags - £23.49
Snowflakes - £20.99
Heart swirl -£17.49

I cut all of this sheet from Kraft card and then again from sleigh ride - Tranquil 
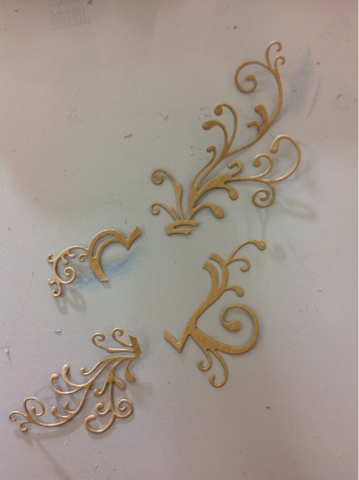
Then layered them as I felt best, adding glitter glue to the poinsettias and swirls, now the swirls are a neat trick... I love this die as it is... But with a few snips it makes a great value swirl die! 
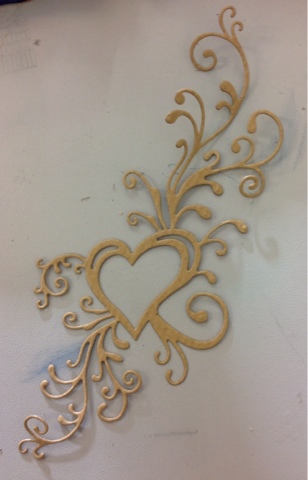
 
Then all I did was glue gun on all of my die cuts and write on my Christmas tag, I also glued a piece of white card to the back of the "Merry" on my tag so it hopefully 'pops' a little more and added a couple of pearls... Job done! A nice easy Christmas decoration you could bring out year after year! 

All of the products used today are currently available at Craftmania - Great Yarmouth Norfolk Or lowestoft Suffolk, to order please call 01502 218281 

All of the products used today (with the exception of the distress inks) are available to the trade Via Jones Crafts. 

Tuesday 17 November 2015

Jones Craft Design Team project - Sleigh ride


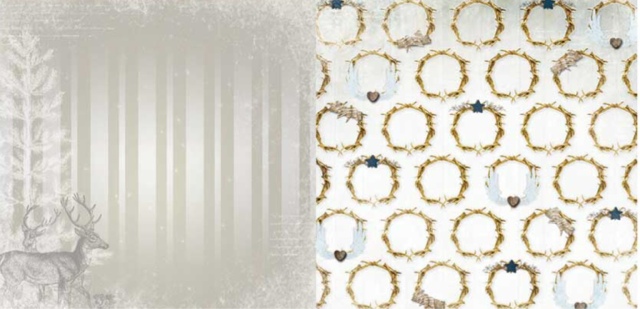
So today's design team project is made using the Bo Bunny Sleigh Ride collection, a wonderful winter collection! Well worth a look! 

For this project I've kept it rather simple and focused on adding a little more to the pages themselves.. Starting off with this page.. 
I've cut it down to 8x8 favouring the side with the reindeers... I've then taken my memento Potters clay ink and squeezed some out on to a tile and spritzed it with water to create my own watercolour that I've then used to paint the reindeer, I love this technique as it gives inks pads another use and saves you some pennies on buying paints and inks (means you've got more to spend in shiny papers ;) ) 

I've then distressed around the edges of the page with the same Potters clay to tone in the colours. 
For my final addition to this page I've used one of my favourite new stamp sets from Kaisercraft - 
And stamped this with the same Potters clay ink. 
Add photograph and then we move on to the back page! 

Once I had mounted my top sheet I used a quickie glue pen and iridescent glitter to the top of each snowflake, just to give the sheet a more expensive luxury feel. 

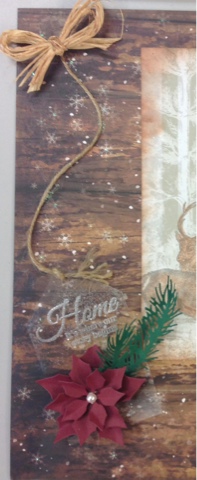
On to the tag! All this is a little block of acetate that I've punch and cut to create a tag, using a second stamp from the above set I've heat embossed it on the acetate with silver glitter embossing powder and added an adorable set of poinsettia dies from io and matching fern die, I've even sprinkled a little embossing powder over the tag to give a little more of a glitter feel to it. Attached string and glue gunned in a wave up the page to the raffia bow at the top (glue gunned on) 

I hope all of this makes sense, any questions please don't hesitate to ask me in the comments :) 

All of today's dies, stamps and papers are available at Craftmania 

If you wish to stock these products please call Jones crafts 

This page will feature as an upcoming lesson at both Craftmania Lowestoft (Suffolk) & Craftmania Great Yarmouth (Norfolk) check out - www.facebook.com/craftmaniacrafts/events for more details