Friday, 26 June 2015

Design team project - June

So this month I've jumped ship from The fantastic Kaiser collections and have been set the task of using some of the latest collections from Bo Bunny (NOW being stocked by Jones craft - wholesalers & in store @ Craftmania) 

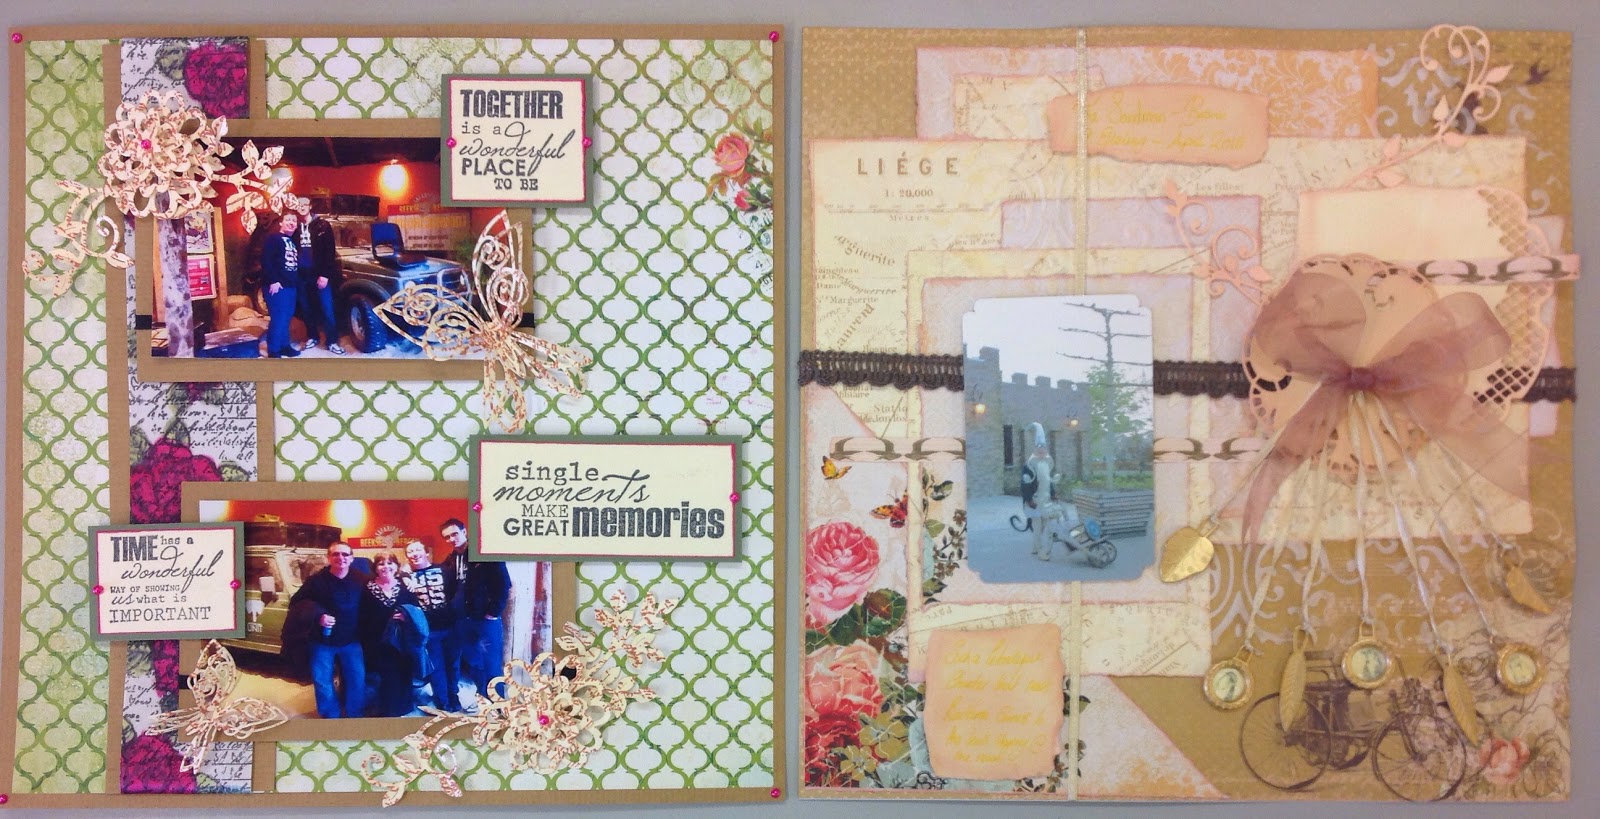
For today's project I've used the lovely floral Juliet collection and focused on using 3 sheets -
Juliet - for the grey floral sheet
Juliet Milan - for the yellow floral sheet
Juliet nostalgia - for all of my cut out embellishments 


In this scrapbook page I really wanted to show how you could interlock two sheets of the same design in two colours, so starting with Milan page as my base I then took the Juliet grey sheet, and with a ruler riped along the edge in a slightly diagonial direction from the top right corner back in towards the page, all the way down the 12x12, I then did the same with the top left corner giving me two panels to foam pad on top of my yellow page.

I liked the way the design matched up with only the backing colouring changing... From here I cut out several of the flowers from my grey sheet that I'm left with (the middle of the grey part).

Now I have my flowers cut.. I really wanted them to stand out a little so I decided to make more of a feature of them by heat embossing over them in clear embossing powder using a clear emboss pad... I really liked how this gave the flowers a wet look... I then popped these to one side...

Next up I picked my two green ribbons under my grey top corner leaving them hanging free for the tags that I would shortly cut out...

Drawing your attention now to the fantatsic nostalga sheet in this collection... 

I nearly used every piece of this sheet! I firstly cut out the yellow large box on the left of the peg so I could use the pink side of this as the backing for the next panel, but then decided I really liked the frame and bird, so using a knife I removed these, leaving the sheet in tact... So I could use this still as my backing (covering up the holes with the next layer.... These sheets do cost a few pennies and it's always such a shame to use them for backings leaving elements like this hidden, even if you don't use them on this project, hook them out and keep them safe for the next! 

After removing this panel from the nostalga sheet I then removed the large panel beside it, and heat embossed this the same way as my flowers, aswell as the oval frame we cut from the last panel.

Then using one sheet of linnen brown card I layered my design adding in other elements from the nostalga sheet. 

This page ended up much busier than I imagined, but I really liked this... It was lovely to tackle a different style and theme! And was well chuffed with how the embossed glazed look ended up... Many brands charge a high premuim for embossed elements on pages, within a few seconds you could do your own ;) 

If you would like to come and do this page with me... We will be doing this as a lesson at Craftmania Lowestoft on Saturday 25th July -2:00-4:30 (we will also be tackling another page in this lesson as well) - this lesson costs £8 and everything except your photos is provided for you :) 

This fantatsic collection and many more Bo Bunny collections are available from to retail customers from Craftmania and for trade customers from Jones Crafts. 

Thursday, 18 June 2015

New Lessons at Craftamania Great Yarmouth!

I'm so pleased to announce Craftmania have just launched a complete list of lessons at the New Great Yarmouth store, I can't wait to be able to teach at this store too! Lessons kick off July 6th.
Bookings are being taken from 10am Friday 19th June.
To see all the fantatsic lessons they have coming up, please look at the events section in the Craftmania facebook page - www.facebook.com/craftmaniacrafts

Crochet - scrapbooking - Cardmaking & yarn club

Thursday, 21 May 2015

Craftmania lessons

If you would like to learn some if the techniques I feature on my blog, as well as many more! Why not attend a Craftmania lesson!
We do Cardmaking, scrapbooking & crochet lessons at our Lowestoft store,
(starting soon in Yarmouth as well!)
For all the latest projects and dates please check out the events section of our facebook page -
https://www.facebook.com/CraftmaniaCrafts/events?ref=page_internal

Here is a couple of my favourite upcoming lessons -
Scrapbooking lesson £8 - Saturday 27th June 2:00-4:30
Wednesday 1st July 10:00-12:30 


Cardmaking lesson £8 - Tuesday 9th June 6:30-9:00
Wednesday 10th June 2:00-4:30
Saturday 13th June 10:00-12:30


Cardmaking lesson £8 - Tuesday 26th May 6:30-9:00
Wednesday 27th May 2:00-4:30
Saturday May 30th 10:00-12:30


Photo display £15 Saturday 20th June 2:00 - estimated 

For more details, please do check out our facebook page. 
To book our lessons - please call 01502 218281 

Sunday, 17 May 2015

Jones Craft Design team Month 2 Project - 4

This month I'm working with the NEW Scrap Yard collection from Kaisercraft on behalf of Jones Crafts. As you may have seen last week I used the papers to cover and decorate a pen carry pot... Well for my next project I thought I would use these for a little scrapbooking! This set is just so versatile!


Recently we went for long weekend to the second largest theme park in Europe - Efteling - currently under construction Is this monster of a new ride - Baron 1898 - and luckily for me the colours of this new coaster matched this wonderful Scrap Yard collection perfectly! 

So to build my page I chose 3 pages from the collection, picked the blue prints style design as my backing and then chose the grey mesh one as layer two - I simply cut 1" off of the top and one side to create my mat then did the same with my next page (script) but upped the removal to 2" - and layered them flat - in the centre. 

Next up I cut mats for both my photos (1 Centura pearl gold - 1 linen terracotta) using black memento and the tic toc clock texture stamp I stamped all over the mats, then attached my photos, and foam padded them on to my page, leaving spaces to pop my cogs under once they were ready. 

On to the cogs and swirls! - and a very stolen technique! I see this and just had to try it! And LOVED IT! 
Using 2 of our new sets of dies - cogs £29.99 (3dies) and swirls £29.99 (2 dies) I cut all of them out of terracotta linen card - then using a black memento pad I stamped all over the top of the cuts - 

For the next stage you take a clear emboss pigment pad and stamp all over the cuts. 

Then take tiny pinches of gold -silver - copper embossing powders and sprinkle them over the cuts randomly -


Tap away the loose bits and pop a clean sheet under your cuts - saving the mixed excess of the metallic mixes for another project ;) 
Now tip clear embossing powder all over the cuts and then heat emboss the lot! 
The metallic powders and the clear will all melt in together to give you a rust effect... And the terracotta and black mixed base coat certainly helps too! 

This one is embossed! And done - the right side just needs to be gone over with the heat gun. 

Now all of your cogs and swirls look a little rusty, you can now foam pad and glue in your swirls and cogs! 

For our next stage we will find the barcode strips we've cut off the 12x12's at the start - I've then trimmed down the black one (you never know when you're making a memory) and foam padded it over my photos. I've then taken the black screw in heads on the silver strip and cut it in to pieces and posted it under my photos, to give the effect the strip goes all the way through.. But this way you get more out of 1 strip ;) 

I've then used 3 journalling pieces from the scrap yard embellishments pack and popped these on the page. Last up I used the circles from the inside of the cogs to foam pad in the corners of the page and the the corners if the photos. 

And that's it! One page completed :) the only thing I haven't explained is the Baron 1898 in the bottom right corner, this is actually a photo of the poster taken off the construction fence surrounding the coaster, and then cut I out instead of leaving it as a full photo - I was rather chuffed with how this looked :) 

As always all you need for this project us available through Craftmania - Great Yarmouth & Lowestoft 

If you're a trade customer looking to stock these products - dies - pages - embellishments - they are all available from Jones Crafts 


Saturday, 16 May 2015

Jones Craft - Design Team Month 2 - Project 1 - Scrap yard


So, for this months Design team project I have been given the wonderful NEW collection from Kaisercraft - Scrapyard! Compromising of several 12x12 papers, stack pads & embellishment bags.

I've been very lucky to finally get my hands on one of Jones crafts fantatsic pen carry pots - only £18.99. I've used several of the papers from this collection to cover the pen carry pot, using the strips from the base of the sheets to decorate the panels. On top of these I've used several of the die cuts from the embellishment pack. Cutting up lots of the cogs in to pieces to get more coverage. 


Using black arcylic paint I've then painted the inside of the carry pot and once dried, wrapped chains around the handle and glue gunned them in to postion. 


For my next project using these lovely papers i plan on doing a scrapbook page that will soon be uploaded :) 

Hope you like today's project :) 
If you can't wait to get your hands on one of these pen carry cases they are available from Craftmania Great Yarmouth & Craftmania Lowestoft - IN STOCK NOW! 

If you're a wholesale customer - please contact Jones Crafts for more information on stocking these wonderful Papers and 3d Wooden shapes.

Wednesday, 6 May 2015

Messy masked card!

For today's blog post I thought we would have a quick run through of one of our recent lesson projects at Craftmania Lowestoft. 
Starting off, we had a standard 3 fold rectangle card blank, I've then cut one piece of card to a5 and two strips for the side panels. Using one of the fabulous Kaisercraft 12x12 butterflies masks (£9.99) I used a black ink pad and a piece of cut and dry foam to ink through the mask to create our black butterfly backround. I've also, on a separate piece of card done a few extra butterfly's to layer! 

Next up we've found a gorgeouse intricate oval stamp set (£5.99) and using the largest one, stamped one in the middle of a a5 piece of parchment, with a knife I've then cut out the middle of the parchment to create a frame. 

Now back to the card blank... Pop it on to a Hougie board (£12.99) and score from the fold line out towards the side panels, every 1cm up to the 7cm line. On both sides. 
You can then accordion fold these score lines. 

Now you have the shelves ready to add in the levels, on the first set of shelves 
(the top edge of the accordion folds) you can stick in the parchment level. 
On the next shelf you can stick your a5 butterfly panel. 

Now for the front... all this leaves is the front side panels, all we do for these is layer the thin strips we inked on earlier on to silver mirror board and black card. 

Now on to the back! 
This time on an a5 piece card I stamped another large oval stamp and cut out the middle. Now glue gun in a piece of ribbon to the back of the oval, then stick a piece of black card over the back of this.

Now to the side panels, again we've layered black card, mirror card and a top level of black card. 
On top of this I've used the smallest oval stamp and printed these on white card, along with 4 butterflies, cut all of these out and layered them. 

The top and bottom swirls are peel offs. 

The wonderful Kaisercraft mask I used is available in store NOW!
Thanks to our wonderful supplier - Jones Crafts 

Sunday, 5 April 2015

DEMO DAYS @ CRAFTMANIA!

DEMO DAYS NEXT FRIDAY & SATURDAY!!
Friday's is at the brand new Yarmouth store!
Saturday's Is at the Lowestoft store!
Both 10am - 4pm
By Pauline Wheeler
Pauline will be showcasing Kaiser craft paper collections, texture stamps and candy box crafts wooden shapes!
It's sure to be a fantastic couple of days!
Simply not to be missed!
Both days Pauline will be tackling different projects, so if you can.. Pop along to both! You're sure to pick up lots of fantastic hints and tips!
Both days are completely FREE to attend!
No need to book.. Simply turn up and take a seat... Stay for 5 minutes or stay all day!
Many customers bring a packed lunch and pop out half way through for a nibble before coming back for the rest of the day!
*please be aware the Yarmouth stores demo day will be taking place upstairs, if stairs are something you struggle with, you may do better to attend the Lowestoft store on Saturday, this demo will be taking place on the shop floor smile emoticon
Please share this post, we would love as many crafters as possible to pop along and have as fun a time with Pauline as possible 

smile emoticon